Styles
In the Report Designer, are port and each of its elements (bands and controls) has a complete set of appearance options (such as Background Color, Borders, Font, Foreground Color, Text Alignment, etc.). By default, these properties are not specified, meaning that their real values are obtained from a control's (or band's) parent, which is the report itself. So, the appearance, specified for a report, is distributed to all its child elements. Similarly, the appearance of a band is translated to the controls it contains.
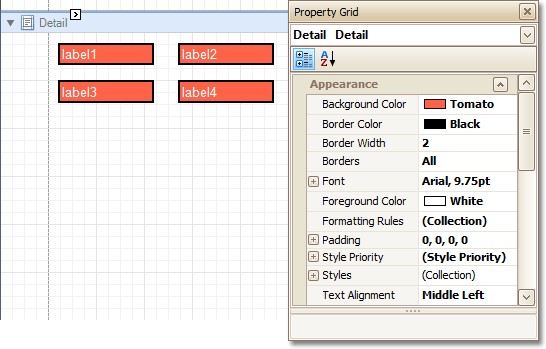
In turn, a control's appearance can be adjusted independently from its parent.

When it is required to reset a value assigned to a control's appearance property, you can right-click this property in the Property Grid, and in the invoked menu, click Reset. So, the control will be restored to the appearance of its parent.

Styles Priority and Inheritance
To differentiate appearance settings in your report, you can create comprehensive styles (which are stored in the report's style sheet), and then can be assigned to individual elements. There are two ways to store a report's styles. To save them to external files (with REPSS extension), and then load them to a report via its Style Sheet Path property (this is described at Store and Re store Style Sheets). To store the styles within the report, so that they can be easily accessed via its Style Sheet property.
Note that if styles contained in a style sheet loaded via the Style Sheet Path property have the same names as styles already contained in a report, the latter ones are overridden.
When both styles and individual appearance settings are assigned to an element; you can control the priority of their differing options, via an element's Style Priority property.
By default, most of the Style Priority's options (Use Background Color, Use Border Color, etc.) are set to Yes. This means that if any style is assigned to a control, its properties will have a higher priority than the appearance properties of this element or its parent. You can assign a higher priority to an element's appearance property, by disabling the corresponding Use* property.

The same principles are applied to the odd-even styles feature, which allow s you to alternate the appearance of consecutive data row s in your report. For details on this, refer to Use Odd and Eve n Style s. When conditional formatting is applied to an element, its appearance definition has the highest priority.
Use Odd and Even Styles
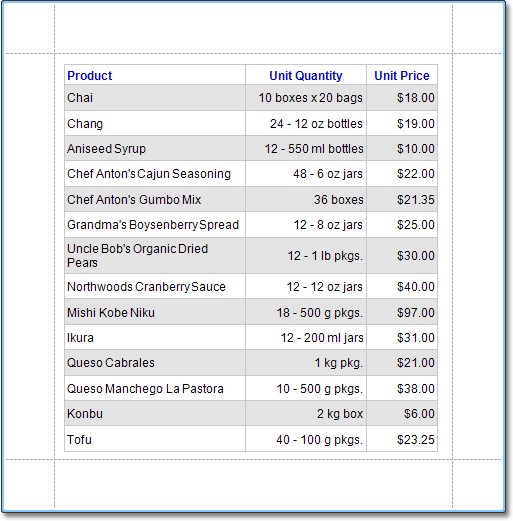
This tutorial describes how to apply odd and even styles to report controls, e.g. to alternate the background color for each record.
To use odd and even styles, do the following.
1. Create a table report.
2. Select the detail table, and in the Property Grid, expand its Styles. Invoke the drop-down list for the Even Style, and click (New).
This will create a style and assign it to the control's Even Style.
3. Now, expand the Even Style property, and adjust the required options, e.g. set the Background Color to Control Light.

If required, perform the same steps, to create and assign an odd style, as well. Switch to the Preview Tab, and view the result.
Store and Restore Style Sheets
This tutorial describes how you can save a report's style sheet into an external file, and then load it back to the report.
You can store a report's style sheet (containing all the report's styles) in an external REPSS file. This makes it possible to easily restore a report's appearance from this file. For general information, refer to Understand Style s Concepts.
To learn how to store and restore report style sheets, do the following.
1. Create a new report and bind it to a data source.
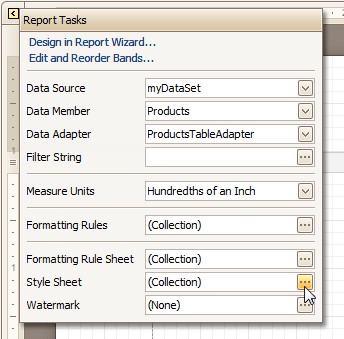
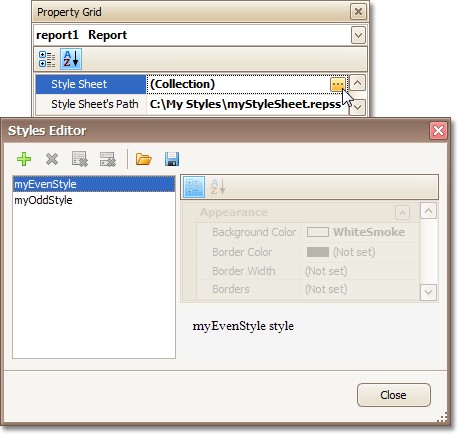
2. Click the report's Smart Tag, and in the invoked actions list, click the ellipsis button for the Style Sheet property.
3. In the invoked Styles Editor, use the button, to create new styles. For them, specify the desired options (e.g. Background Color), and click the Save button.
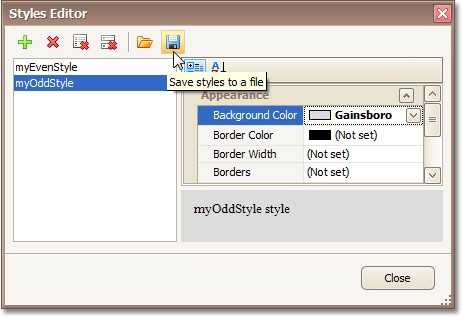
Then, in the invoked Save File dialog, define a name for the style sheet file (.REPSS), and click Save.
4. Then delete the created styles, using the button, and close the dialog.
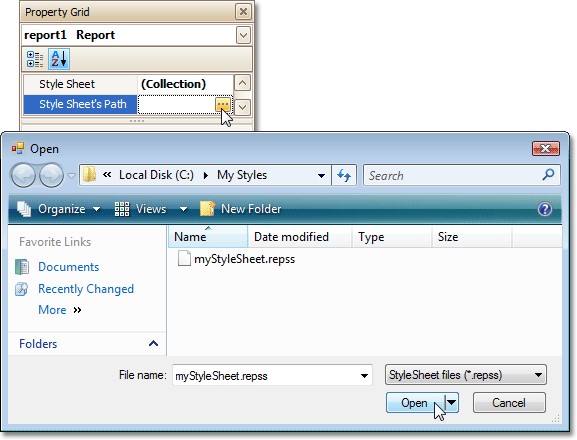
5. Select the report, and in the Property Grid, click its ellipsis button for the Style Sheet Path property. In the invoked Open File dialog, load the created REPSS file.
When you invoke the Styles Editor (via the report's Style Sheet property) again, you'll see that the styles are read-only, meaning that they are obtained from an external file.
If the Style Sheet Path property is then set to None, and a style sheet is loaded using the Styles Editor of the Style Sheet property, all these styles will become editable.
To learn how you can assign styles to report elements, refer to Use Odd and Even Styles.
Note
Note that the styles loaded from a style sheet file have priority over the styles, which exist in a report's style sheet. So, if the styles stored in the report have the same names as the styles loaded from a style sheet file, then the styles from the file will substitute for their namesakes.